Every new hire’s first week is a make-or-break moment.
Yet many HR teams still juggle spreadsheets, manual paperwork, and a dozen disconnected tools to get people up to speed.
Rippling offers a way to replace that chaos with one automated workflow. It handles payroll, IT provisioning, benefits, and compliance from day one.
This guide walks you through exactly how to set it up, step by step.
Disclosure: If you make a purchase after clicking links in this article, I may make a referral income, at no cost to you.
Table of Contents
1. What Is Rippling and Why Automate Employee Onboarding?
Here’s what you’ll learn in this section:
- Rippling unifies HR, payroll, IT, finance
- Manual onboarding quietly costs you time
- Automation brings consistency and better experiences
Rippling as a unified workforce platform
Most companies run HR in one tool, payroll in another, and IT tickets in a third.
Every handoff between those tools is a chance for something to slip.
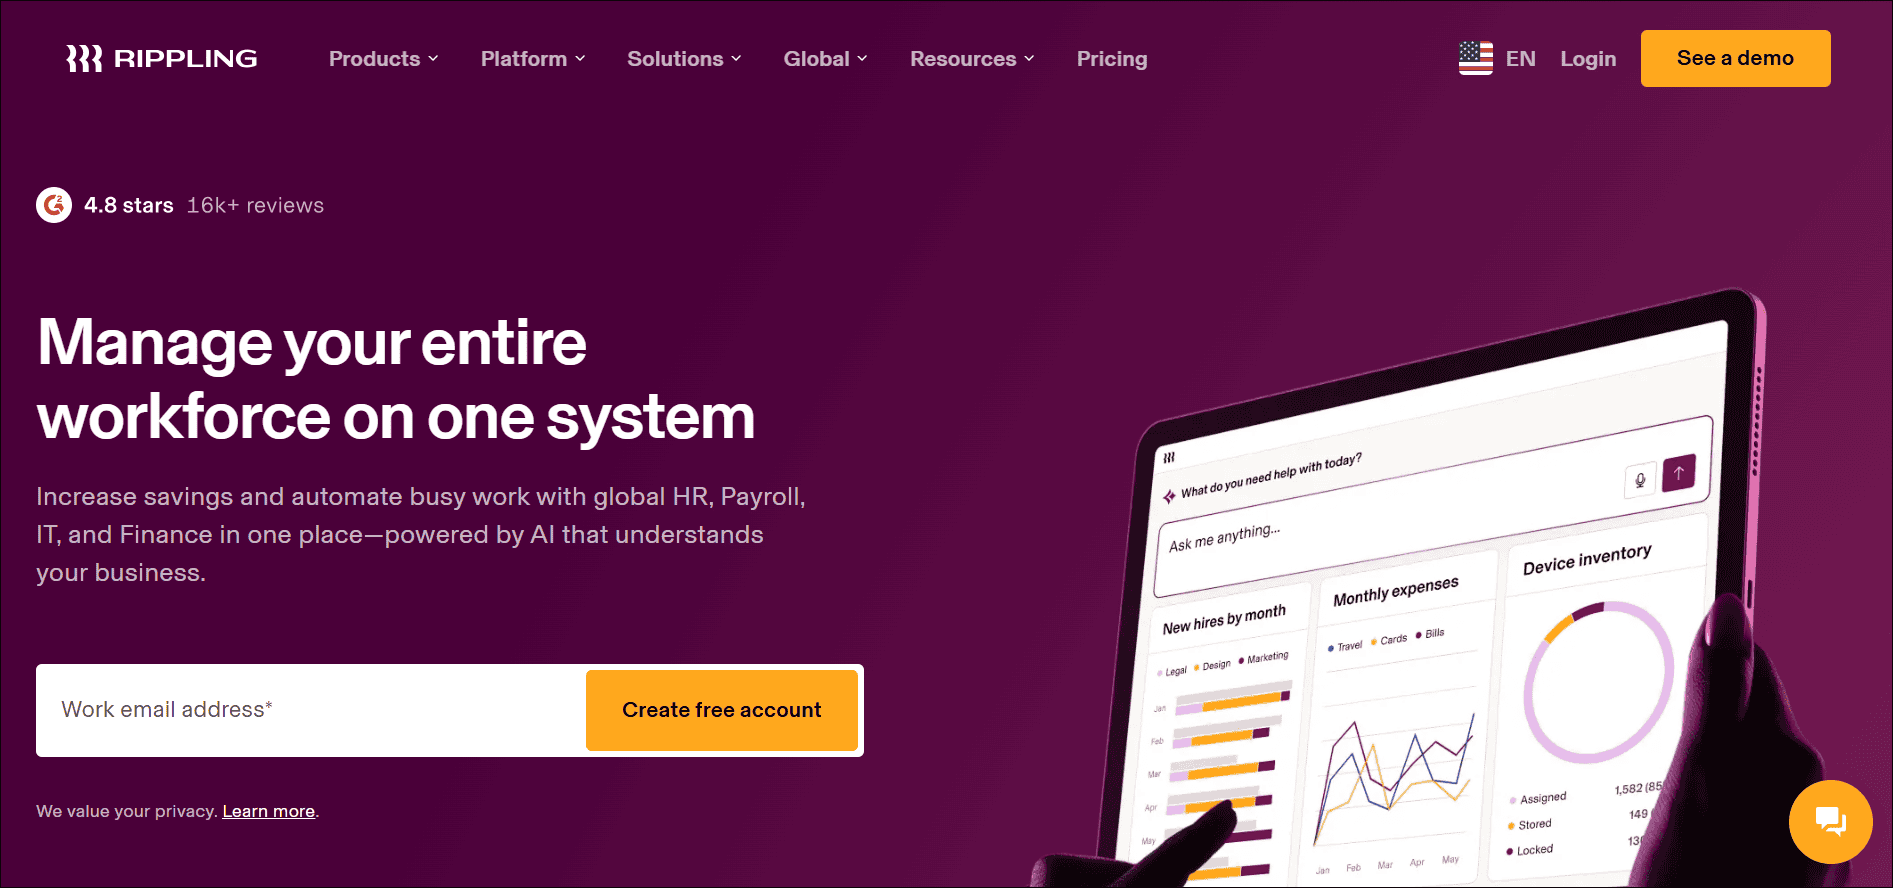
Rippling pulls HR, payroll, IT, and finance into a single system. When you add an employee once, that data can flow to everything else.
No copy-pasting. No “did anyone tell IT?” emails.
The hidden costs of manual onboarding
Manual onboarding looks cheap because nobody sends you an invoice for it. But the costs are real:
- Lost hours: HR re-enters the same data across multiple systems.
- Errors: A typo in a bank account or tax form can delay a first paycheck.
- Slow ramp-up: New hires wait days for laptops, logins, and access.
And there’s a people cost, too. A disorganized first week tells a new hire, “We weren’t ready for you.”
That’s not the message you want to send.
Key benefits of onboarding automation
When onboarding runs on autopilot, three things improve fast:
- Consistency: Every hire gets the same quality experience, no matter who is on the HR team that week.
- Compliance: Required forms, policies, and deadlines don’t depend on someone’s memory.
- New-hire experience: People feel welcomed, informed, and ready to contribute.
Your team also gets time back. Time you can spend on the human parts of onboarding that no software can replace.
2. Prerequisites: Preparing Your Rippling Account for Onboarding
Automation is only as good as the foundation under it.
Before you build workflows, get these basics in place:
- Pick plan and modules that fit
- Set up company structure accurately
- Define roles and admin permissions
Choosing the right plan and modules
Rippling is modular, so you pay for what you need. Think about which pieces your onboarding depends on.
A small team might start with core HR and payroll. A growing company may also want device management, app management, and benefits administration.
Match the modules to your real process, not your wish list. You can always add more later.
Pricing and packages change over time, so confirm the current options with Rippling directly.
Setting up company information
Next, make sure your company data is clean and complete. This includes:
- Legal entity details
- Departments and teams
- Office locations (and remote work states or countries)
- Job titles and levels
This step feels boring, but it matters a lot.
Your onboarding templates, approval rules, and app bundles will all use this data. If departments or titles are messy, your automation will be messy, too.
Defining user roles and admin permissions
Onboarding involves sensitive information: Social Security numbers, bank details, salary data.
Not everyone should see all of it.
Set up admin roles with the principle of least access in mind:
- HR admins manage onboarding workflows and employee records.
- Payroll admins handle compensation and tax details.
- IT admins manage devices and app access.
- Managers see only their own team’s tasks.
Review these permissions regularly, especially when your team changes.

3. Step 1: Build Your Onboarding Workflow Templates
Now comes the fun part. Here’s the plan:
- Map your current process first
- Create templates by role or department
- Assign tasks, deadlines, and owners
Map your current process before you automate it
Don’t automate a process you haven’t written down.
Grab a whiteboard or a doc and list everything that happens from “offer accepted” to “day 90.” Include the small stuff, like who orders the welcome swag.
As you map, ask three questions:
- What steps repeat for every hire?
- Which steps are slow or error-prone?
- Who owns each step today?
You’ll probably find steps nobody needs anymore. Cut them before you build.
Create reusable templates by role or department
A sales rep and a software engineer don’t need the same onboarding.
Build a base template with the steps everyone shares. Then create variations for specific roles or departments.
For example:
- Everyone: Paperwork, payroll setup, company policies, welcome message
- Engineering: Developer tools, code repository access, security training
- Sales: CRM access, product training, territory assignments
Reusable templates save you from reinventing the wheel with every hire.
Add tasks, deadlines, and responsible owners
A checklist without owners is just a wish list.
For every task in your template, define three things:
- What needs to happen
- Who is responsible (HR, IT, the manager, or the new hire)
- When it’s due, relative to the start date
Use relative deadlines like “3 days before start date” or “Day 1.” That way the same template works for every hire, whenever they join.
4. Step 2: Automate Document Collection and E-Signatures
Paperwork is where manual onboarding hurts the most.
Here’s how to fix it:
- Automate offer letters and contracts
- Collect tax and banking details securely
- Track completion with automatic reminders
Configure offer letters, contracts, and policy acknowledgments
Start by setting up your standard documents as templates. These usually include:
- Offer letters
- Employment contracts
- Confidentiality or IP agreements
- Handbook and policy acknowledgments
Use merge fields so details like name, title, salary, and start date fill in automatically.
The result? Fewer typos, faster turnaround, and a signature collected in minutes instead of days.
Collect tax forms and banking details securely
New hires need to complete tax forms and share direct deposit details. In the U.S., that includes forms like the W-4, along with employment eligibility verification such as the I-9. Other countries have their own equivalents.
Instead of emailing PDFs back and forth, let new hires enter this information directly in their onboarding portal.
This approach is safer, because sensitive data stays inside one secure system. It’s also more accurate, because the information flows straight to payroll.
Before you go live, double-check which forms apply to your locations and worker types. When in doubt, ask your legal or compliance advisor.
Set reminders and track completion in real time
People get busy. Even excited new hires forget to finish their paperwork.
Set automatic reminders for anything that’s overdue. Then use your dashboard to see who has finished what.
That way you’ll spot a stuck task on Tuesday, not on payday.
5. Step 3: Automate Payroll, Benefits, and Compliance Setup
This is where a unified platform really shines.
Here’s what to set up:
- Link compensation to payroll automatically
- Enroll hires using eligibility rules
- Meet local compliance requirements from day one
Connect compensation and pay schedules to payroll
When compensation details live in your HR system, they shouldn’t need to be typed into payroll again.
With Rippling, the salary, pay schedule, and tax information you collect during onboarding can feed directly into payroll. That means fewer manual entries and fewer “why is my paycheck wrong?” conversations.
It also means your new hire’s first paycheck is more likely to be right.
Enroll new hires in benefits based on eligibility rules
Benefits eligibility often depends on things like employment type, location, or waiting periods.
Instead of tracking this by hand, set up eligibility rules once. Then let the system do the work:
- Show new hires only the plans they qualify for
- Open their enrollment window at the right time
- Flag approaching deadlines
Your employees get clarity. Your HR team stops answering the same questions on repeat.
Also Read: Rippling vs Gusto: The Ultimate Comparison Guide [For YOU]
Ensure state and local compliance from the start
Compliance rules vary by state, city, and country. And they change.
Build compliance into your onboarding workflow so required notices, forms, and trainings go out automatically based on where the employee works.
This is especially helpful if you hire remotely across multiple states.
Still, automation doesn’t replace expert advice. Check with your legal team or a compliance professional to make sure your setup meets your obligations.
6. Step 4: Automate App Provisioning and Device Management
A new hire without a laptop or logins can’t do much.
Here’s how to get IT out of the critical path:
- Build role-based app bundles
- Assign and revoke access in one action
- Ship and track devices automatically
Build role-based app bundles
Instead of requesting access app by app, group the tools each role needs into a bundle.
For example, a marketing bundle might include your email platform, design tool, project tracker, and analytics dashboard.
When a new marketer joins, they get the whole bundle automatically. No tickets. No waiting.
Assign and revoke access with a single action
Rippling‘s app management is designed to connect with the third-party tools your team already uses. Once connected, you can grant access when someone joins and remove it when they leave.
That second part matters just as much as the first.
Offboarding is a security risk when access lingers. Using the same system for both keeps your tool access tidy and your data safer.
The list of supported apps changes over time, so check that your key tools are supported before you plan your bundles.
Ship and track laptops and equipment
If your team is remote or hybrid, getting equipment to new hires on time is a big deal.
Device management workflows can help you:
- Trigger a laptop order when an offer is accepted
- Ship it to the employee’s home address
- Track delivery and setup status
- Apply security settings automatically
The goal is simple. On day one, the laptop is in their hands and the logins already work.
7. Step 5: Launch, Test, and Optimize Your Automated Onboarding
You’ve built the workflow. Now make it better.
Here’s the plan:
- Test with a dummy employee first
- Collect feedback from your first cohort
- Track metrics and fix bottlenecks
Run a test onboarding with a dummy profile
Never make a new hire your guinea pig.
Create a fake employee profile and run it through the entire workflow. Pretend you’re each person involved: the new hire, the manager, HR, and IT.
Look for:
- Tasks assigned to the wrong person
- Missing documents or broken links
- Confusing instructions
- Deadlines that don’t make sense
Fix what you find. Then test again.
Gather feedback from new hires and managers
Your first real cohort is a goldmine of insight.
Ask new hires and their managers a few simple questions after the first week and again at 30 days:
- What felt smooth?
- What felt confusing or slow?
- What was missing?
Keep the survey short. People are more likely to answer five questions than twenty.
Use reporting dashboards to track results
Data tells you what feelings can’t.
Use your reporting tools to track things like:
- How long each task takes to complete
- Which tasks are most often overdue
- Time from start date to full productivity
If the same step keeps stalling, that’s your bottleneck. Fix it, and watch the whole process speed up.
8. Common Mistakes to Avoid When Automating Onboarding in Rippling
Even great automation can go wrong. Watch out for these:
- Don’t automate the human moments
- Clean your data before you start
- Keep workflows updated as things change
Over-automating tasks that need a human touch
Automation should free up time for people, not replace them.
A welcome message from the manager, a first-day lunch, and a 30-day check-in all work better when they’re personal.
Automate the reminder to do these things. Don’t automate the things themselves.
Skipping data cleanup
If your employee data is messy, automation will spread that mess faster.
Outdated job titles, duplicate departments, and missing locations can all trigger errors in payroll, benefits, and app access.
Spend a few hours cleaning up before you launch. It’ll save you many more later.
Failing to update workflows when things change
Your company won’t stay the same, and your workflows shouldn’t either.
New roles, new policies, new tools, and new regulations all affect onboarding.
Set a reminder to review your templates every quarter. Ask: “Is anything outdated, missing, or no longer needed?”
Conclusion
Automating employee onboarding with Rippling turns a fragmented, error-prone process into a consistent, compliant, and welcoming experience.
By preparing your account, building reusable workflow templates, and automating documents, payroll, benefits, and app access, HR teams can save significant time and get new hires productive faster.
Start small. Test thoroughly. Refine your workflows with real feedback.
Your next new hire will notice the difference from day one.